harley carb not getting idle fuel
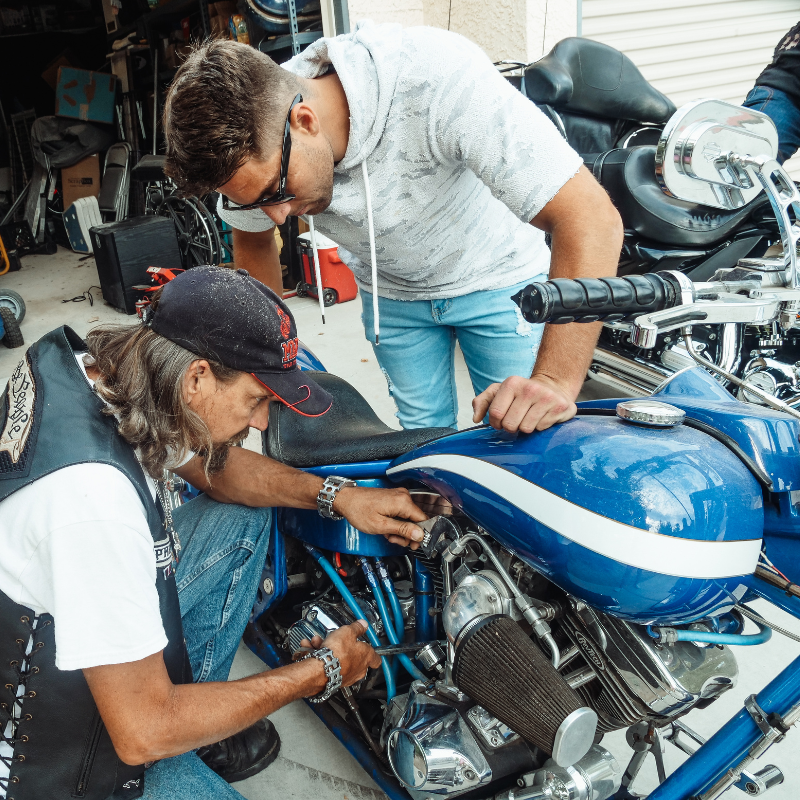
CARBURETOR
If your Harley carburetor is not getting idle fuel, the issue likely involves the idle circuit or a blockage preventing fuel flow.
Here’s a step-by-step troubleshooting guide to resolve it:
1. Check the Idle Jet (Pilot Jet)
- The pilot jet controls idle fuel flow.
- Clean it thoroughly using carb cleaner and compressed air.
- Inspect for damage or wear; replace it if needed.
2. Verify Fuel Delivery to the Carburetor
- Ensure fuel flows freely from the tank to the carburetor.
- Check:
- Fuel petcock (on/off valve) for blockages.
- Fuel line for kinks, debris, or cracks.
- Fuel filter for clogs.
3. Check the Idle Mixture Screw
- Ensure the idle mixture screw is properly set.
- Start by turning it all the way in gently, then back it out 1.5 to 2 turns.
- Adjust for smooth idling once the engine warms up.
4. Clean the Carburetor Passages
- Remove the carburetor and clean all passages with carb cleaner.
- Focus on the idle circuit: pilot jet, pilot screw channel, and idle air passages.
- Blow out any debris with compressed air.
5. Inspect the Float and Float Bowl
- Ensure the float bowl has fuel. If not:
- Check for debris or clogs in the float needle or fuel inlet.
- Adjust the float height to manufacturer specifications.
- Confirm the float valve allows fuel into the bowl.
6. Check for Vacuum Leaks
- A vacuum leak can cause idle issues. Inspect:
- Intake manifold gaskets.
- Carburetor boots or seals.
- Spray carb cleaner around the intake area to test for leaks (idle speed will change if there’s a leak).
7. Check for a Blocked Idle Air Passage
- The idle air bleed passage could be blocked, restricting air-fuel mixture.
- Clean the passage with carb cleaner and compressed air.
8. Inspect the Throttle Plate
- Ensure the throttle plate is not fully closed at idle.
- Adjust the idle speed screw to slightly open the plate.
9. Test the Fuel Tank Vent
- If the fuel tank vent is clogged, it can cause fuel starvation.
- Open the gas cap slightly to test if fuel flow improves.
Final Notes
If none of the above resolves the issue, consider rebuilding or replacing the carburetor, as worn components may no longer function properly. Always ensure the carb is clean and adjusted to factory settings.
INJECTION
If your fuel-injected motorcycle is struggling to idle, the problem is often related to fuel delivery, air intake, or faulty sensors. Follow this step-by-step guide to troubleshoot the issue.
1. Check the Fuel System
- Fuel Pump: Ensure the fuel pump is delivering sufficient pressure.
- Use a fuel pressure gauge to verify it meets manufacturer specifications.
-
Fuel Injectors:
- Clogged injectors can prevent proper fuel delivery. Use injector cleaner or have them professionally cleaned.
- Inspect for leaks, wear, or damage.
- Check the fuel filter for clogs and replace it if necessary.
2. Inspect the Idle Air Control Valve (IACV)
- The Idle Air Control Valve regulates airflow at idle. If dirty or stuck, it can cause idle issues.
- Remove and clean the IACV with throttle body cleaner.
- Reinstall and test if idle improves.
3. Clean the Throttle Body
- A dirty throttle body can restrict airflow and affect idle performance.
- Use throttle body cleaner to remove carbon buildup around the butterfly valve.
- Check for smooth operation of the throttle plate.
4. Check for Vacuum Leaks
- Vacuum leaks disrupt the air-fuel ratio, causing poor idling.
- Inspect:
- Intake manifold gaskets.
- Throttle body seals and hoses.
- Spray carb cleaner around these areas to detect leaks (engine RPM will fluctuate if a leak exists).
5. Test the Oxygen Sensor (O2 Sensor)
- A faulty O2 sensor can provide incorrect data to the ECU, affecting the fuel mixture.
- Use an OBD-II scanner to check for fault codes.
- Replace the sensor if it’s malfunctioning.
6. Inspect the Throttle Position Sensor (TPS)
- The TPS signals throttle position to the ECU for proper fuel delivery.
- Test the TPS with a multimeter or scanner to ensure it operates within specifications.
- Adjust or replace if faulty.
7. Check the Engine Temperature Sensor
- The engine temperature sensor helps adjust fuel mixture at different temperatures.
- A malfunctioning sensor can cause the engine to run too lean or rich at idle.
- Scan for error codes and replace if necessary.
8. Verify the ECU and Electrical Connections
- Inspect all electrical connections for corrosion, looseness, or damage.
- Reset the ECU if necessary to clear incorrect adaptations.
- Use an OBD-II scanner to check for fault codes or reprogram the ECU.
9. Check Spark Plugs
- Faulty or fouled spark plugs can cause improper combustion, affecting idle.
- Inspect and replace spark plugs if worn or dirty.
10. Verify Battery Health
- A weak or failing battery can cause electrical irregularities.
- Test battery voltage and charging system to ensure proper operation.
Conclusion
If the problem persists after following these steps, consult a professional mechanic for advanced diagnostics, as the issue may involve deeper electrical or ECU-related problems.

Rémi
Founder of Kafein Kustoms, Rémi is a passionate motorcycle enthusiast and the founder of Kafein Kustoms. With years of experience in customization, he specializes in Clubstyle builds and premium parts, blending performance and style to help riders create their dream bikes.

